
How to operate motorola walkie talkie: A First Responder’s Essential Guide
Before you can send your first message, you need to get your Motorola radio assembled and powered up. It's a quick process, but getting it right from the start is the key to clear, reliable communication out in the field. Think of it like a pre-flight check for your lifeline.
Your First Look at the Motorola Radio
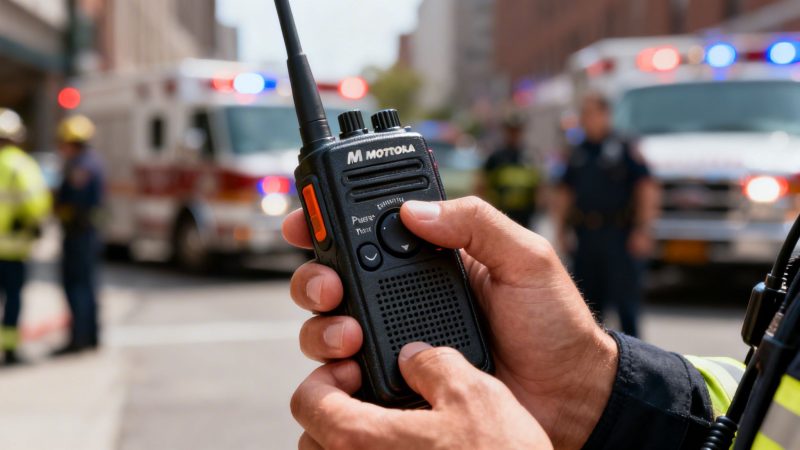
Getting your radio mission-ready is straightforward. We'll walk through the essentials: attaching the antenna, seating the battery, and getting a feel for the main controls like the Push-to-Talk (PTT) button and channel selector.

These steps might seem basic, but they directly impact your radio's performance. Proper assembly isn't just a formality—it's what makes the difference between a clear signal and dead air.
Essential Radio Assembly
Take the battery, for instance. You need to hear that solid click when you slide it into place. That sound is your confirmation that it's securely locked and won't disconnect if the radio gets dropped during a critical moment.
The same goes for the antenna. A loose antenna can slash your transmission range by over 50%, turning a clear command into frustrating static. Practical example: A fire crew inside a large warehouse loses contact with the incident commander outside, all because an antenna wasn't tightened during the morning gear check. Just twisting it until it's snug is one of the easiest ways to prevent a major communication breakdown.
Money-Saving Insight: Proper initial setup is the cheapest insurance you can buy for reliable communication. A loose antenna or a poorly seated battery can render a thousand-dollar radio useless at the worst possible time, potentially leading to costly operational errors or safety incidents.
To get you up and running without digging through a thick manual, here's a quick breakdown of the main controls you'll be using every day.
Quick Reference for Motorola Radio Controls
This table covers the essential physical controls you'll find on a standard Motorola radio and what they do. I've also thrown in a few pro tips specifically for first responders.
| Control or Button | Primary Function | Pro Tip for First Responders |
|---|---|---|
| Antenna | Transmits and receives radio signals. | Always check that it's screwed on tightly before your shift. A loose antenna is the #1 cause of poor signal. |
| Battery Pack | Powers the radio. | Listen for the audible "click" when installing. This confirms it's locked in and won't detach if the radio is dropped. |
| Channel Selector Knob | Changes the operating frequency or channel. | Verify your channel selection with a team member at the start of an operation to ensure everyone is on the same page. |
| Volume/Power Knob | Turns the radio on/off and adjusts speaker volume. | Turn the radio on and set the volume to a mid-level before entering a high-noise environment. |
| Push-to-Talk (PTT) | Activates the microphone for transmission. | Press and hold for one full second before speaking to avoid your first words being cut off. |
Getting comfortable with these physical controls is the first step. Once you've got this down, you're ready to start transmitting.
Mastering Core Radio Communications
Once your Motorola radio is assembled and good to go, it's time to get into the fundamental rhythm of two-way communication. This core sequence—powering on, picking a channel, and transmitting—is really the heartbeat of effective field operations. Getting these basics down cold ensures your messages are clear, concise, and actually heard every single time.

Think about an incident commander at a multi-vehicle pile-up. They're trying to coordinate fire, EMS, and police units all at once. The ability to grab their radio and use it without a second thought is what keeps the scene from descending into chaos. This skill isn't magic; it's built on a few simple, repeatable actions.
From Power-On to PTT
First things first, power on the device. Give the power/volume knob a solid turn until you hear and feel a click, then set the volume to a comfortable level. From there, select the correct channel that your team is using. Your agency will have these pre-programmed, and it might be a UHF channel for better signal punch in a city or a VHF channel for operations out in wide-open country.
With the right channel selected, you're ready to talk. You'll use the large Push-to-Talk (PTT) button, usually located on the side of the radio. One of the most common rookie mistakes I see is someone mashing the PTT button and talking at the exact same time. It wastes time and just creates confusion.
Pro Tip: Press and hold the PTT button for one full second before you start speaking. This little pause gives the radio time to open the channel so your first few words don't get clipped off. You'll avoid missed instructions and having to repeat yourself.
This simple habit saves precious seconds and cuts down on airwave clutter. In an emergency, those seconds add up, making the whole operation run smoother and safer for everyone involved.
Radio Etiquette and Clear Communication
How you speak on the radio is just as critical as knowing which buttons to press. The airwaves are a shared, limited resource. Speaking clearly and concisely isn't just about sounding professional; it's a flat-out necessity for operational efficiency.
Keep these principles in mind for professional radio comms:
- Think Before You Speak: Figure out what you need to say before you key the mic. Practical example: Instead of saying "Uh, command, this is Engine 5, we're… uh… we need a water supply," plan it out. A better transmission is: "Command, Engine 5. We have a hydrant at the corner of Oak and Main. Laying a supply line now."
- Identify Yourself: Always start by saying who you are and who you're trying to reach. For example, "Dispatch, this is Unit 12."
- Keep it Brief: Get your point across with as few words as possible. Avoid the extra chatter that could block someone with a real emergency.
- Use Plain Language: While "10-codes" were the standard for a long time, many agencies have switched to plain language. It's just clearer, especially when you're working a multi-agency incident.
- Signal the End: Use a clear pro-word like "over" when you're done talking and expect a reply. Use "out" when the conversation is completely finished.
In the high-stakes world of first responders, being good on the radio can be the difference between a coordinated response and total chaos. In fact, training stats show that teams who drill these foundational communication habits can cut their response times by 25-40%. That's a huge improvement driven by nothing more than clear communication. You can explore more about the market impact of these devices and discover insights about the walkie-talkie industry to see how critical this gear has become.
Extending Battery Life and Reducing Costs
Out in the field, a dead radio is a lot more than just an annoyance. It's a critical failure point that can jeopardize safety and blow up coordination efforts. Getting smart about battery management is a fundamental part of operating any Motorola walkie-talkie, and it pays off big time in longer uptime and real cost savings for your agency down the road.
This is about more than just remembering to plug it in after a shift. It means really understanding your gear, setting up some simple maintenance routines, and making smart buys that will save you money over the long haul.
Li-Ion vs. NiMH: Know Your Power Source
Motorola radios generally run on one of two types of batteries: Lithium-Ion (Li-Ion) or Nickel-Metal Hydride (NiMH). You absolutely have to know which one you're working with because they need to be treated differently.
- Li-Ion Batteries: These are the new standard, and for good reason. They're lighter, hold a charge much longer, and you don't have to worry about the "memory effect"—meaning you can top them off anytime without fully draining them first.
- NiMH Batteries: You'll find these in older models. They're heavier and can develop that memory effect if you don't fully discharge them every so often. They also tend to lose their charge quicker when just sitting around.
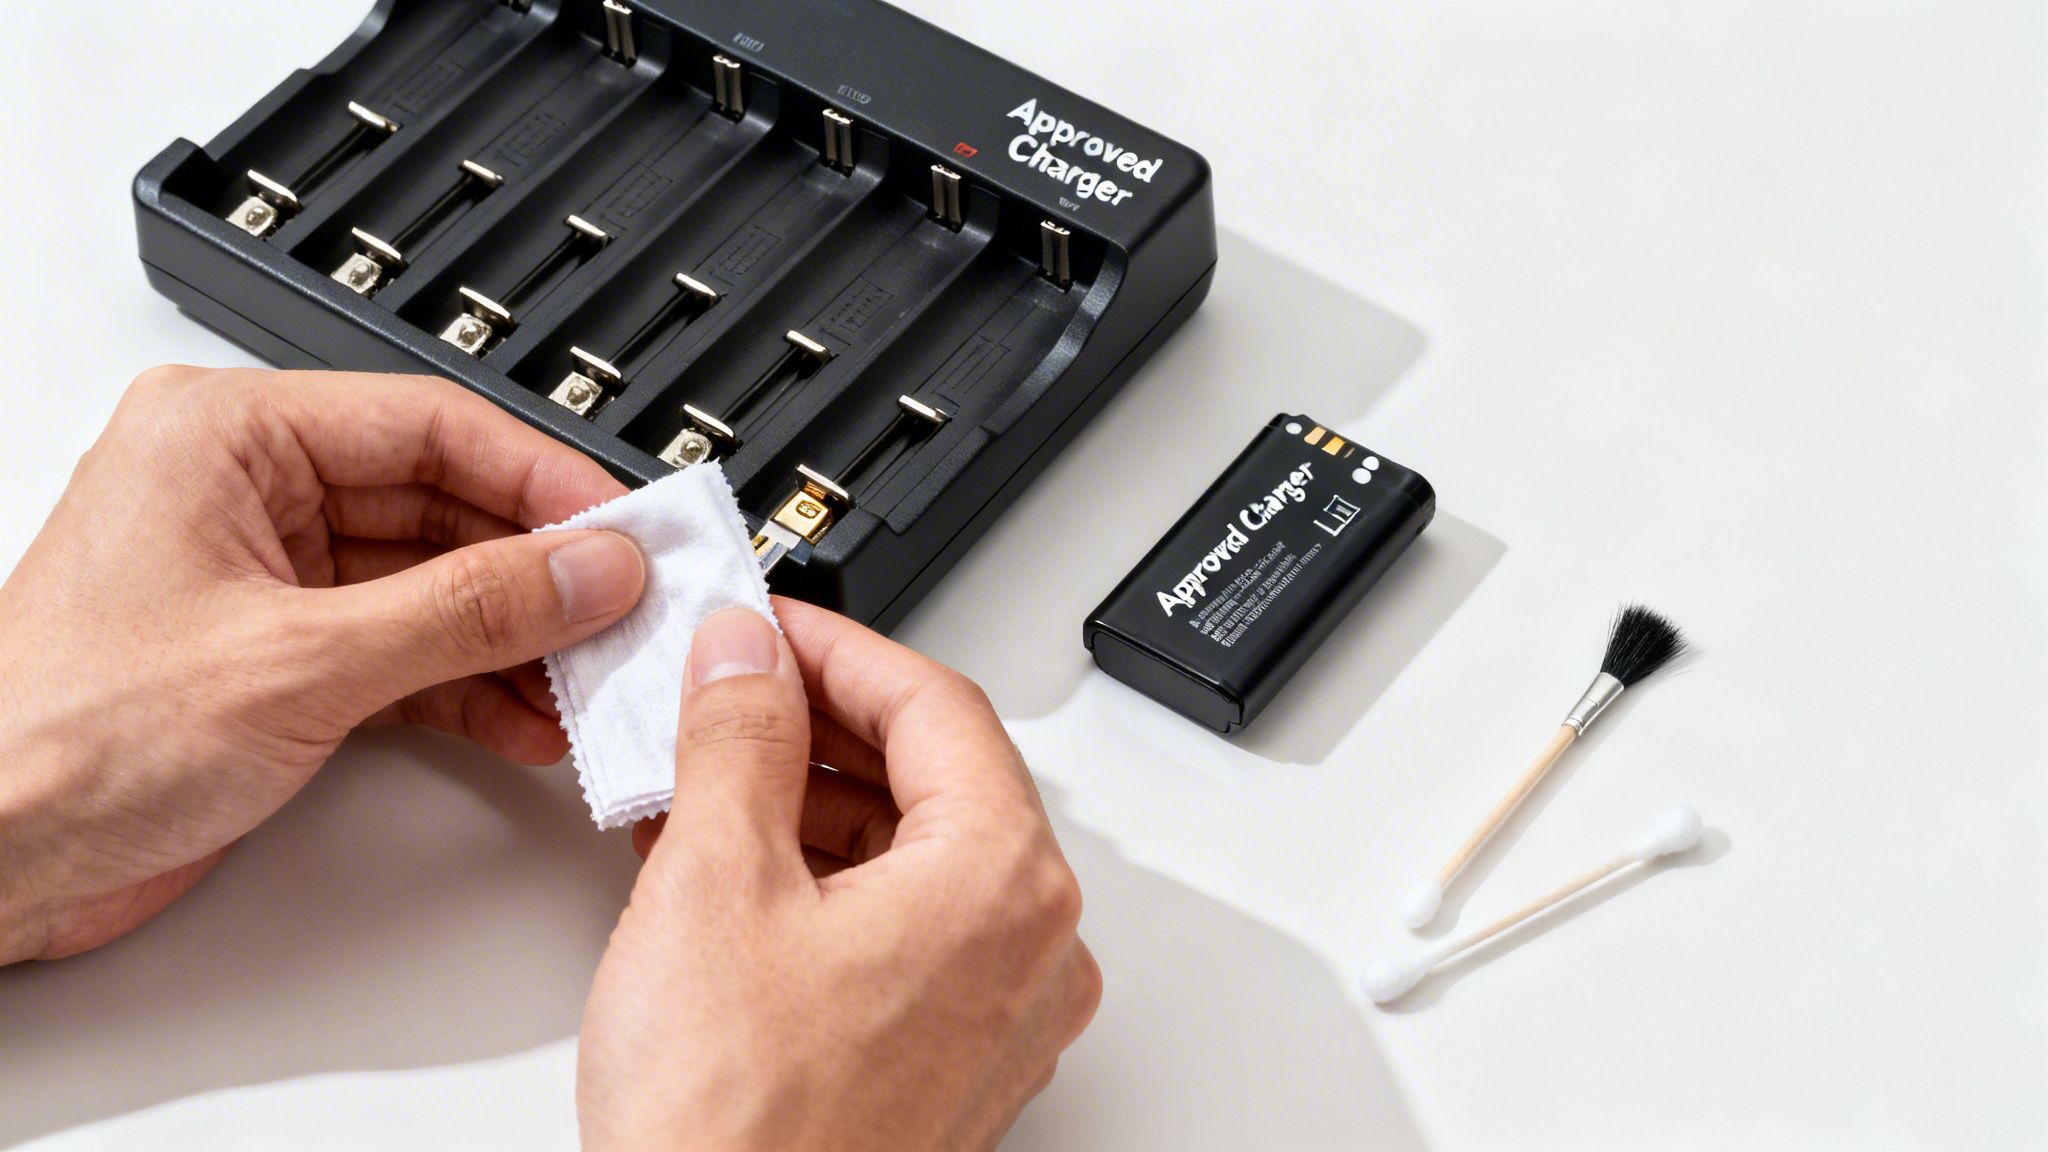
Money-Saving Insight: Stick with manufacturer-approved chargers. It's not negotiable. Those cheaper third-party chargers might seem like a good deal, but they usually lack the smart circuitry that prevents overcharging. That can butcher a Li-Ion battery's capacity by up to 20% in just a few months, forcing you into costly, premature replacements across your whole fleet. An agency with 50 radios could waste thousands of dollars per year on new batteries just by using the wrong chargers.
The Financial Sense of Multi-Unit Chargers
For any team of decent size, investing in multi-unit chargers is a no-brainer. A six-bay charger might look like a bigger upfront cost, but it gets rid of the rat's nest of individual power bricks and power strips and streamlines the whole charging operation.
Money-Saving Insight: This organized setup saves a ton of man-hours. Every radio has a home, and you always know where to find a fully charged unit. Over a year, this can literally save hundreds of hours that would've been wasted hunting down individual chargers and radios—a direct impact on your operational budget. Time spent looking for gear is time you're paying for non-productive work.
Knowing how to properly manage your Motorola walkie-talkie gear is what empowers security teams and first responders, and that all starts with a reliable battery. For instance, models like the APX series can hit 80% capacity in just 1.5 hours using a drop-in charger. That kind of rapid charging is essential for keeping up with 24/7 shifts, especially when you're managing assets in a platform like Resgrid.
Those battery indicators that start flashing at 20% remaining are a critical cue to swap out batteries. Paying attention to them helps avoid the 15% failure rates that can crop up during extended operations. You can find more insights about the walkie-talkie market and how it affects operational readiness across the industry.
Ensuring Clear and Secure Communications
Talking into your radio is one thing, but making sure the right people hear you—and only the right people—is another game entirely. Once you're comfortable with the basic controls of your Motorola walkie-talkie, it's time to start using the features that cut through the noise and secure your comms.
A lot of teams share public frequencies, which means you might suddenly hear chatter from a construction crew down the street or a local security team. To fix that, your Motorola radio uses privacy codes, also known as CTCSS (Continuous Tone-Coded Squelch System) or DCS (Digital-Coded Squelch).
Practical example: Imagine your event security team is working a large concert on Channel 5. The catering company is also using Channel 5. Without a privacy code, your security chatter would be constantly interrupted by requests for more ice. By setting a unique privacy code (e.g., code 12), your radios will only unmute for other security radios using code 12, effectively silencing the caterers.
Scanning Channels for Total Awareness
In a dynamic situation, you can't be everywhere at once, and you certainly can't monitor every conversation by manually flipping channels. That's where the channel scan function becomes your best friend. It lets your radio automatically cycle through a pre-set list of channels, locking onto any that become active.
Imagine a fire captain at a major incident. They can’t afford to miss a thing. By turning on the scan feature, they can simultaneously monitor:
- Tactical Channel: Keeping an ear on the crews on the front line.
- Command Channel: Getting high-level updates from incident command.
- EMS Channel: Staying looped in on patient care and transport logistics.
Actionable Insight: The scan function is all about situational awareness without the manual effort. It gives leaders a full operational picture, ensuring they catch critical updates from different teams that could easily be missed. This turns a simple radio into a powerful command and control tool. This enhanced awareness prevents costly mistakes caused by missed information.
This kind of strategic monitoring is a huge time-saver and, more importantly, keeps crucial information from slipping through the cracks when things get chaotic.
Securing Sensitive Operations with Encryption
For ops that are truly sensitive—think law enforcement, private security details, or any situation where confidentiality is paramount—privacy codes just don't cut it. You need encryption.
Many professional-grade Motorola radios have it built-in, and it works by scrambling your voice transmission.
Only another radio programmed with the exact same encryption key can unscramble the message. To anyone else trying to listen in, it’s just unintelligible noise. Practical example: A SWAT team conducting a raid uses encryption to coordinate movements without tipping off suspects who might be monitoring police frequencies with a cheap scanner. This is absolutely vital for maintaining operational security. To see how advanced platforms tackle this, check out our deep dive on Resgrid security protocols. Activating encryption is usually just a quick menu selection, but it adds a powerful layer of defense for your team's most critical conversations.
Using Advanced Features in Mission-Critical Scenarios
Your professional-grade Motorola radio is so much more than a simple communication tool. In high-stakes environments, it’s a lifeline. When you know how to tap into its advanced functions, you're unlocking a powerful set of safety features that can make all the difference during an emergency.
These aren't just bells and whistles. They go far beyond the standard push-to-talk, giving you automated alerts and direct lines for help when a team member is in trouble. For any first responder, understanding these features is non-negotiable.
Activating Lifesaving Alerts
The most important of these is the Emergency Button. It’s usually a distinct orange or red button right on top of the radio. A single, firm press instantly opens a hot mic on a dedicated emergency channel. This sends a distress signal to dispatch and every other radio tuned in, overriding all other traffic to make sure your call for help is heard.
Beyond manual alerts, many Motorola models come equipped with automated safety systems like Man Down and Lone Worker. Think of them as a digital partner watching your back.
- Man Down: This uses an internal sensor to detect if the radio is tilted at an extreme angle or hasn't moved for a set period. Practical example: A firefighter is knocked unconscious by falling debris. After 30 seconds of no movement, the radio automatically sends a "Man Down" alert with their last known location to command.
- Lone Worker: This is basically a digital check-in system. The radio will beep periodically, and if you don't respond by pressing a button, it assumes you might be unresponsive and sends out an alert.
Actionable Insight: These aren't just buttons; they are integrated safety nets that can potentially reduce insurance premiums and liability costs by demonstrating a commitment to worker safety. For an officer in a struggle or a firefighter trapped under debris, these features can automatically summon aid when they are physically unable to, turning the radio into an autonomous distress beacon.
The foundation for all of this is maintaining clear and secure radio traffic. If your channel is cluttered, even the best features won't get through.
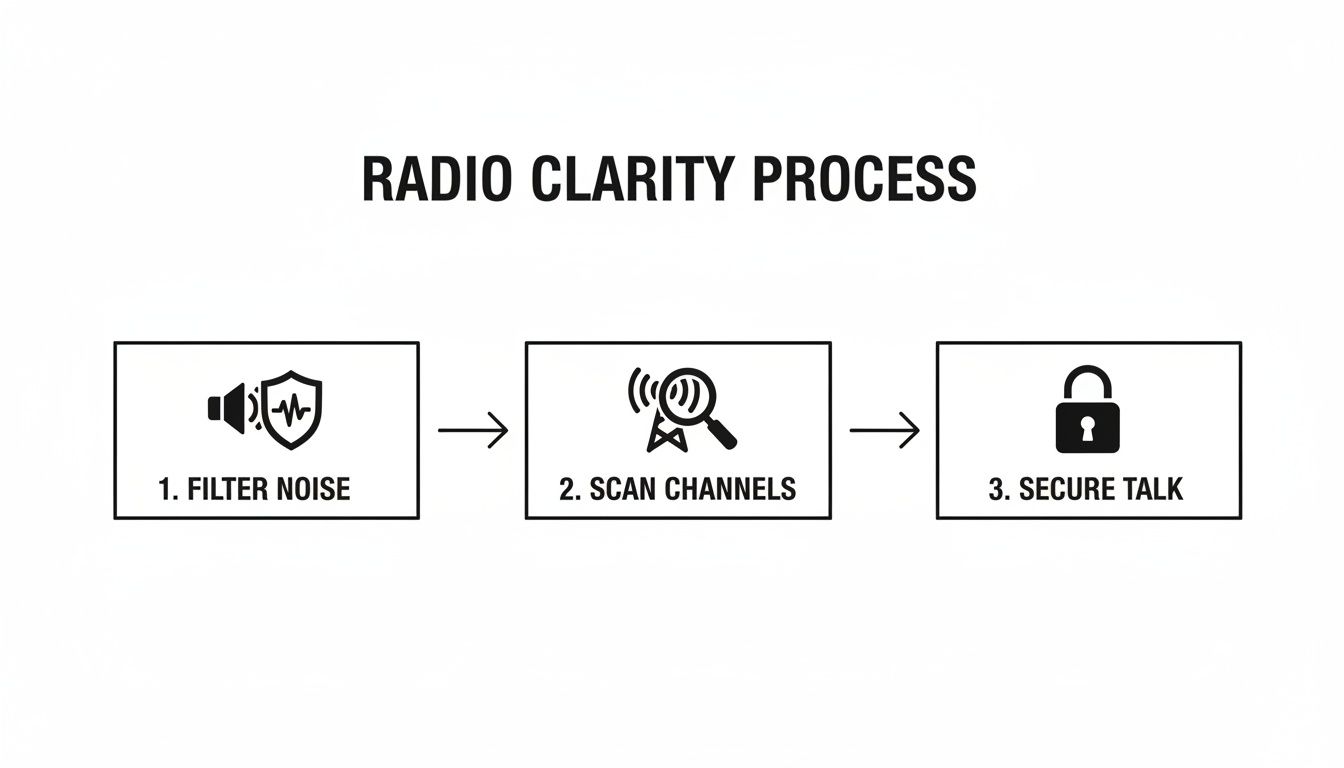
This process—filtering noise, scanning channels, and securing your talkgroup—is what guarantees that when a critical alert is sent, it’s heard clearly by the right people, without any interference.
Integrating with Modern Dispatch Systems
On-device alerts become even more powerful when they're tied into a command platform. For agencies using a system like Resgrid, these radio alerts can kick off a chain of automated digital responses. When an emergency button is pressed, the system can instantly map the user's location, notify the entire command structure through multiple channels, and log the incident for review later on. You can see more about how Resgrid’s features amplify team coordination.
In the field, this integration saves critical seconds. Holding the emergency button for three seconds can trigger a piercing 107dB alarm and flashing lights on the device while simultaneously creating an incident report in Resgrid. Efficiency also gets a boost from simple radio discipline. Using '10-codes'—like "10-4" for "acknowledged"—can cut airtime by as much as 50% for active teams, keeping channels clear for what matters.
Field Questions & Quick Fixes
Even when you've got the basics down, things can go sideways out in the field. Let's tackle some of the most common questions that pop up when you're getting the hang of your Motorola radio. These are the quick answers you need to get back on the air without missing a beat.
My Radio is On, But I'm Not Hearing Anything. What Gives?
This is probably the most common issue we see, and it almost always comes down to one of four simple things.
First, sanity check that you're on the exact same channel as everyone else. It's a simple mistake, but it happens to the best of us, especially during a high-stress incident.
Next up, look at your privacy code (that CTCSS or DCS setting). If your code doesn't match the rest of the team's, you won't hear a peep, even if you're on the right frequency. And, it sounds silly, but we've all done it: make sure your volume knob isn't turned all the way down.
Finally, consider your environment. Heavy concrete, steel structures, and even big hills can absolutely kill your signal. Try getting a little higher or moving to a more open spot to see if you can get a signal through.
What's the Real Difference Between UHF and VHF?
The core difference is all about how their radio waves travel through the air and through objects.
VHF (Very High Frequency) waves are longer. This gives them the ability to travel much farther over open country with few obstacles. Think rural firefighting or a search and rescue operation in the wilderness—that's where VHF shines.
UHF (Ultra High Frequency) waves are shorter, which lets them do a much better job of punching through solid stuff like concrete, steel, and other building materials. This is why UHF is the standard for most first responders, security teams, and anyone working inside big structures or dense urban areas. Actionable Insight: Choosing the right frequency band from the start prevents costly equipment swaps later. If your team works exclusively indoors, investing in VHF radios would be a waste of money due to poor performance.
How Can I Squeeze a Full Shift Out of My Battery?
Getting your battery to last an entire shift comes down to smart power management. It's not magic, just good habits.
If you're talking over short distances, drop your radio to its low-power setting. High-power transmitting is the single biggest battery hog, period. Practical example: If you're coordinating with a partner in the next room, use the low-power setting. You don't need to transmit at full power as if you were talking to someone a mile away.
Also, keep your transmissions short and to the point. The less time you spend holding down that PTT button, the longer your battery will last. And if you know you're going to have significant downtime where you don't need to listen in, just turn the radio off.
Money-Saving Insight: One of the most overlooked money-saving tips is just taking care of your batteries. Keep the contacts clean and only use the charger that came with the radio. Those cheap third-party chargers often don't have the right circuitry to stop overcharging, which slowly kills your battery's health and leads to expensive, early replacements. A well-maintained battery can last years longer, saving your department significant replacement costs.
What Does the Scan Button Actually Do?
The Scan function is an amazing tool for maintaining situational awareness, especially for supervisors. When you hit "Scan," your radio starts cycling through a pre-programmed list of channels you've selected.
As soon as it picks up a transmission on one of those channels, it locks on so you can listen in. This is a game-changer for anyone who needs to monitor multiple teams at once.
For example, an incident commander can scan the main tactical channel, a command channel, and an EMS channel all at once, without ever touching the dial. It ensures you never miss a critical piece of intel from any part of the operation. If you're running into more complex issues, you can always find more in-depth guides in our dedicated support section.
At Resgrid, LLC, we build a complete dispatch and team management platform that works hand-in-glove with your comms gear. Our goal is to make sure your team is always connected and perfectly coordinated. Learn how Resgrid can streamline your operations today.