

How to Use Motorola Walkie Talkies A First Responder Guide
Getting the hang of a Motorola radio is pretty simple once you know the basic controls. You just power it on, pick your channel with the knob, and hit the big Push-to-Talk (PTT) button on the side to talk. Let go of the PTT, and you're ready to listen.
Your First Moments with a Motorola Radio
When someone hands you a Motorola radio for the first time, it feels important—because it is. Whether it’s an APX or a MOTOTRBO model, knowing its core functions is the first step toward communicating with confidence when it matters most. This isn't about memorizing a user manual; it's about building muscle memory for actions that could be critical in a high-stress situation.
There's a reason these radios are everywhere. Motorola Solutions has a massive footprint in the communications world, shipping over 7 million units globally in 2023 alone. That sheer volume is exactly why getting comfortable with these devices is key for working seamlessly with other agencies.
Mastering the Physical Controls
Before you worry about zones or scan lists, get familiar with the three main controls you'll use constantly. They’re designed to be used by feel, so you can operate the radio without ever taking your eyes off the scene.
- The Power/Volume Knob: Usually the top knob. Turn it clockwise to power on the radio—you'll hear a beep and see a light flash. Keep turning it to crank up the volume. A classic rookie mistake is keeping the volume too low and missing a critical transmission. Practical Example: You're directing traffic at a loud accident scene; turn the volume up before you step out of your vehicle to ensure you can hear dispatch over sirens and passing cars.
- The Channel Selector: This knob, typically right next to the power/volume, clicks into place for each channel or talkgroup. Practical Example: You arrive at a multi-agency fire and need to switch from your day-to-day operations channel ("Fire Dispatch") to a shared incident command channel ("IC-1"). Knowing it's just three clicks clockwise saves precious seconds when you're gearing up.
- The Push-to-Talk (PTT) Button: It's that big, textured button on the side of the radio, impossible to miss. Press and hold it to talk, let go to listen. Here's a crucial piece of radio etiquette: pause for a beat after you press the PTT but before you start speaking. This little habit ensures the beginning of your message doesn't get clipped.
To help you get the hang of it quickly, here's a quick rundown of what each control does in a typical first responder scenario.
Motorola Radio Basic Controls at a Glance
| Control/Button | Primary Function | First Responder Use Case |
|---|---|---|
| Power/Volume Knob | Turns the radio on/off and adjusts the incoming volume | Powering up at the start of a shift and turning the volume up to hear over sirens or down during a quiet patient assessment. |
| Channel Selector | Switches between pre-programmed channels or talkgroups | Changing from a primary dispatch channel to a tactical channel (i.e., "Fire Tac 1") specific to an active incident. |
| Push-to-Talk (PTT) | Transmits your voice over the selected channel | Relaying critical information to dispatch, like "Engine 5 on scene," or coordinating with other units during a response. |
| Emergency Button | Sends an alert to dispatch with your radio ID | Activating it if you're in distress, injured, or facing an immediate threat, triggering an emergency response protocol. |
| Speaker/Microphone | Projects incoming audio and captures your voice | Speaking clearly and directly into the mic while holding the radio a few inches from your mouth for the clearest audio. |
Getting these fundamentals down builds a solid foundation for more advanced radio operations.
Interpreting Essential Feedback
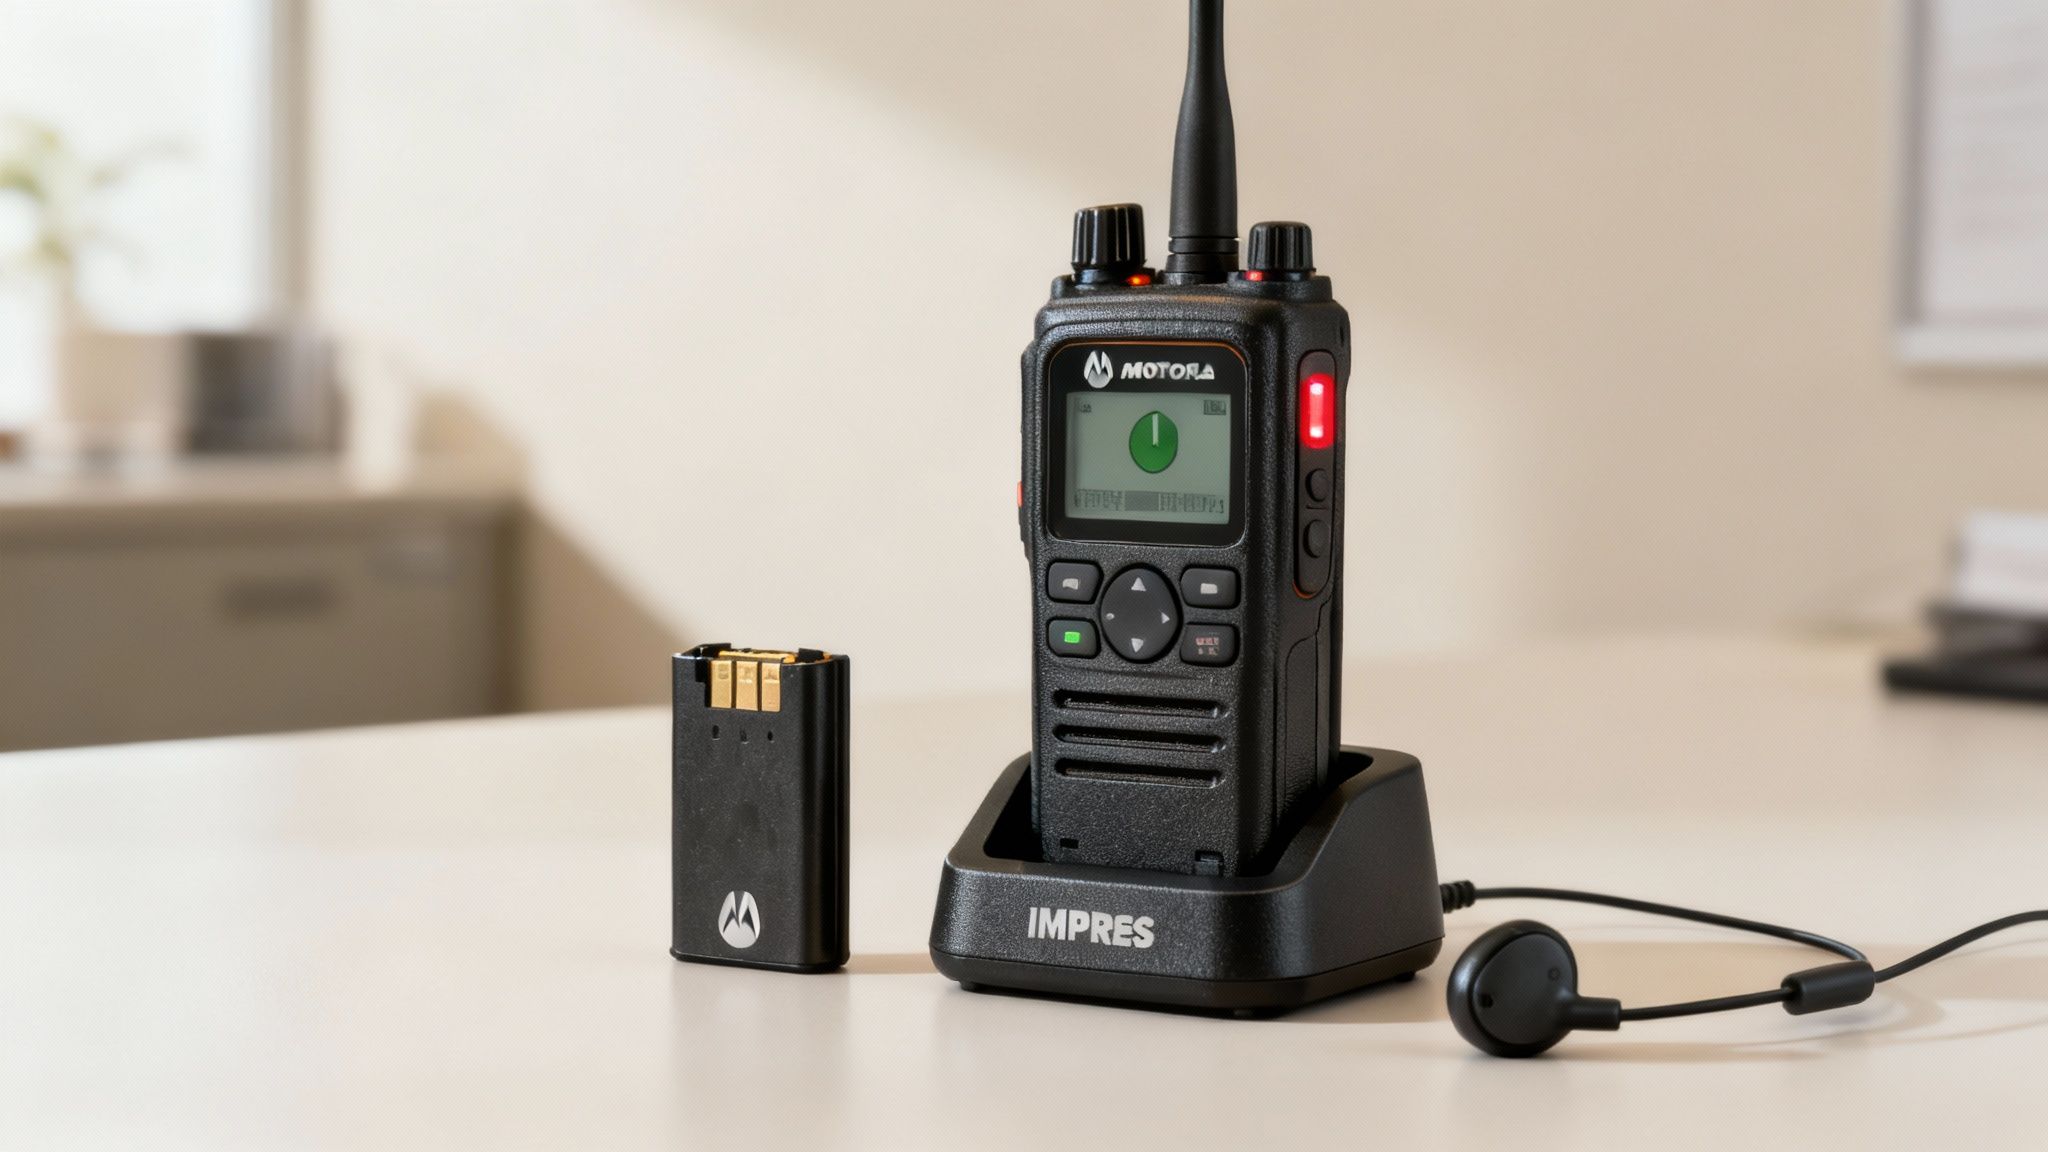
Your radio gives you feedback with more than just words. Those little beeps and lights are telling you what's going on. A solid green light, for example, usually means you're receiving a transmission. A flashing red light could mean your battery is about to die or you're out of repeater range. A quick, high-pitched beep after you release the PTT is often the "all-clear" signal that your transmission went through.
Actionable Insight to Save Money: When you hear that low-battery chirp, don't just toss the battery. Many modern chargers, like Motorola's IMPRES system, have conditioning features. Running a conditioning cycle once a month can significantly extend a battery's useful life. This simple habit means buying fewer expensive replacement batteries for your crew, saving your agency hundreds, if not thousands, of dollars per year.
If you hit a snag or have questions about getting these radios to play nice with other systems, a good support guide can be a lifesaver. For more in-depth troubleshooting help, feel free to check out our comprehensive support resources for first responders. Mastering these basics turns your radio from a point of confusion into your most reliable tool in the field.
Navigating Channels and Talkgroups for Seamless Teamwork
Being on the right channel is the difference between a coordinated response and chaos. Once you've got the hang of the basic controls on your Motorola radio, the next real skill is learning how to find the right digital "room" to talk in.
Think of your radio's channels and talkgroups as different meeting rooms for specific conversations. Some are for your team only, while others are set up for massive, multi-agency collaboration. Getting this right is fundamental.
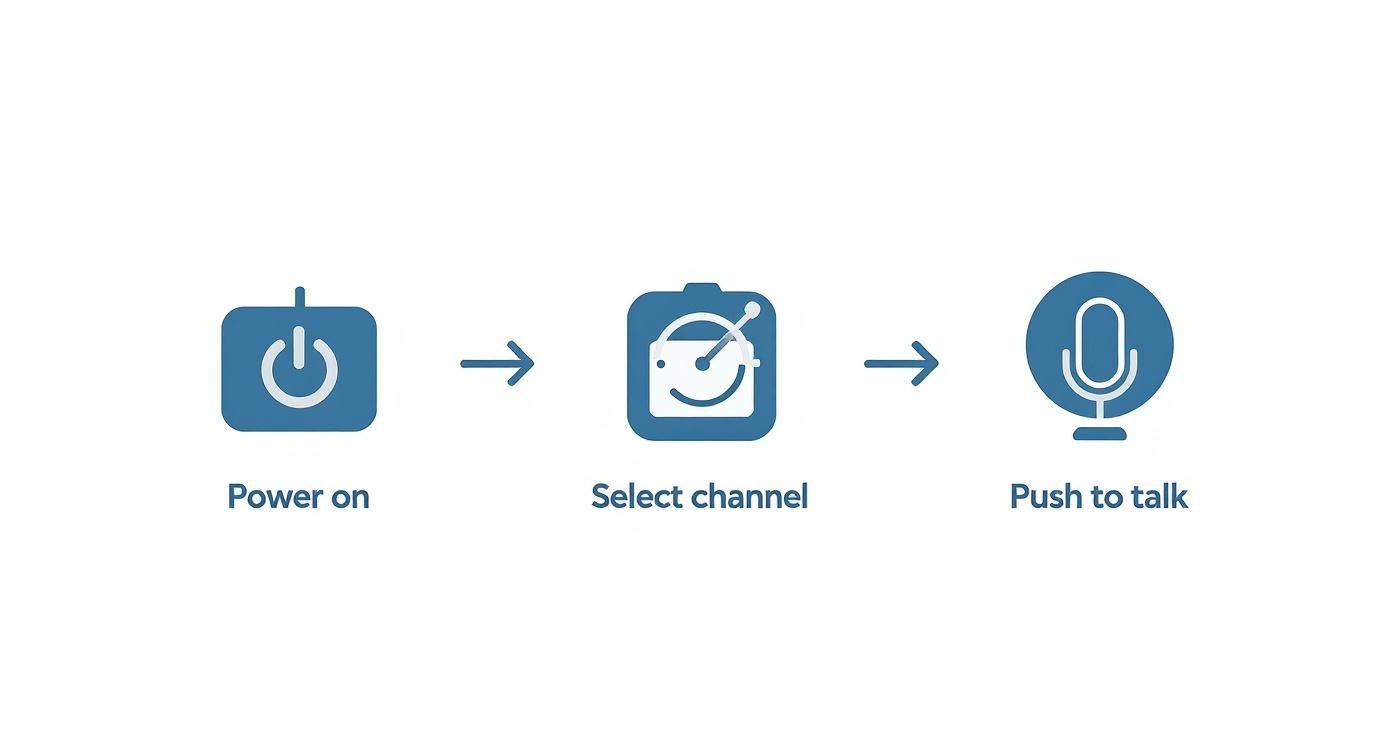
This just breaks down the core actions: power on, pick a channel, and hit the PTT. You need this muscle memory before you start juggling complex talkgroups in the field.
Channels Versus Talkgroups
Let’s get the terminology straight because it matters. At its simplest, a conventional channel is like a private phone line—it's a single frequency dedicated to your team. This works great for small-scale operations where everyone is close by, but it's not efficient for large, complex incidents.
A trunked system talkgroup is a whole different ballgame. Instead of one dedicated frequency, the system has a pool of frequencies assigned on the fly by a computer. When you key up, the system instantly gives you a clear frequency for your talkgroup's conversation. This is way more efficient and allows thousands of users to share just a handful of frequencies without stepping on each other. For most first responders, talkgroups are what you'll be using day in and day out.
Using Zones for Multi-Agency Incidents
Picture a large structure fire with police, fire, and EMS all on scene. Each agency has its primary talkgroups for internal chatter, but they absolutely have to coordinate with each other. This is where zones come in. A zone is just a group of channels or talkgroups programmed into your radio, usually organized by function or geography.
Your radio might be set up with several zones:
- Zone 1 "Fire Ops": Contains your daily fireground and dispatch talkgroups.
- Zone 2 "Police": For accessing PD talkgroups if you're authorized.
- Zone 3 "Interop": This is the critical one for multi-agency work. It contains shared "interoperability" talkgroups that all agencies can jump on to coordinate command, medical, and tactical operations.
Practical Example: By switching to the "Interop" zone, a fire captain can talk directly to a police sergeant about traffic control without cluttering up the primary fire dispatch talkgroup. It keeps communication clean, relevant, and effective.
Actionable Insight to Save Money: Efficiently using zones and designated talkgroups reduces unnecessary chatter on primary dispatch channels. This operational discipline can delay the need for an agency to purchase additional licensed frequencies—a significant capital expense that can run into tens of thousands of dollars per channel.
Mastering Your Scan List
Trying to listen to every conversation on a busy scene would be completely overwhelming. That’s why the scan list is your most powerful tool for managing the flow of information. A scan list tells your radio to monitor several talkgroups at once, stopping on any that have active traffic.
Practical Example: A police officer at a large public event can program their radio to scan their primary dispatch talkgroup, a tactical talkgroup for the event, and the local EMS channel. This way, they maintain situational awareness of all key operations without constantly twisting the channel knob. Activating the scan function—usually a dedicated button—lowers your cognitive load, letting you focus on the task at hand.
Beyond just the technical side, maximizing your radio's efficiency ties into broader strategies to improve team communication and enhance collaboration. A well-managed radio is the cornerstone of a well-managed incident, period.
Communicating with Dispatch Beyond Voice
Your Motorola radio is so much more than a PTT button and a speaker. Think of it as a powerful data terminal plugged directly into the heart of your operation—the Computer-Aided Dispatch (CAD) system. While voice will always be king for urgent, in-the-moment communication, mastering your radio's data functions can make routine tasks faster, quieter, and a whole lot more efficient.
This integration allows for silent, rapid-fire updates. Instead of keying up the mic and waiting for a clear channel just to say, "Engine 1 is en route," you can often get the same job done with a single button press. This action sends a clean digital packet straight to the CAD, updating your status for everyone to see instantly. No waiting, no repeating yourself.

From Voice Calls to Data Packets
Let's break it down with a practical example: a routine traffic stop. The old way involved calling in a license plate over the air, waiting for dispatch to run it, and then listening for the verbal response. This eats up valuable time, clogs the channel, and broadcasts sensitive information for anyone with a scanner to hear.
Modern Motorola radios, when tied into a CAD system, completely flip that script. You can use the radio's keypad to punch in the license plate and send it as a data query. The system runs the plate, and the results—wants, warrants, vehicle registration—pop up right on your radio’s screen. It's silent, secure, and ridiculously fast.
This simple shift from voice to data for routine stuff has a huge impact on how an entire shift runs. It keeps the primary voice channels clear for the calls where seconds truly count.
Practical Data Functions You Can Use Today
Your radio is likely already programmed with a whole menu of status messages and data functions built to streamline your back-and-forth with dispatch. The exact options will vary by agency, but you'll almost always find these core functions.
- Acknowledging a Call: When dispatch sends you a call, forget the verbal "copy." A single press of a pre-programmed button acknowledges the call, instantly updating the CAD. Dispatch knows you're on it without another word spoken.
- Updating Your Status: Essential updates like "En Route," "On Scene," or "In Service" can be sent with a couple of taps through your radio's menu. It’s far quicker than a voice report.
- Sending Canned Messages: Many systems are set up with pre-programmed text messages for common requests, like "Requesting Backup (Non-Emergency)" or "Need Tow Truck." This avoids a whole back-and-forth conversation for a standard task.
Actionable Insight to Save Money:
Every single time a first responder uses a data function for a routine update, they're reducing traffic on the voice channel. This efficiency isn't just about time; it has a direct financial benefit. By keeping channels from getting congested, agencies can delay the incredibly costly process of purchasing additional licensed radio frequencies—an expense that can easily run into thousands of dollars and extend the life of the current system.
For routine tasks, the difference between a voice call and a data packet is night and day. It frees up airtime, reduces the chance of errors from misheard words, and lets dispatchers focus on higher-priority traffic.
Common Radio Status Messages vs Voice Transmissions
| Task | Voice Transmission Example | Radio Keypad/Menu Action | Efficiency Gain |
|---|---|---|---|
| Acknowledging a Call | "Dispatch, Unit 12, received. We're en route." | Pressing a single "Acknowledge" or "ACK" softkey. | Frees up dispatch and the channel in seconds. |
| Arriving on Scene | "Dispatch, Unit 12 is on scene at 455 Oak Street." | Navigating to menu, selecting "Status," then "On Scene." | Eliminates verbal report and potential for misinterpreting the location. |
| Running a License Plate | "Unit 12 to Dispatch, can I get a run on Alpha-Bravo-1-2-3?" | Using the keypad to type "AB123" and send a query. | Faster, more secure, and doesn't tie up the voice channel for others. |
| Requesting a Tow | "Dispatch, Unit 12, can you start a non-preference tow to my location?" | Selecting "Request" > "Tow Truck" from a pre-set menu. | Reduces airtime and streamlines the request process for dispatch. |
As you can see, the efficiency gains add up quickly over the course of a shift, freeing up critical bandwidth for when things get loud.
Boosting Safety with Automatic Location Data
Maybe the most critical data feature of all is GPS tracking. Many modern Motorola radios automatically transmit your location coordinates to the CAD system at regular intervals. This gives dispatch a real-time, bird's-eye view of every unit in the field.
This isn't just about efficiency; it's a massive leap forward in officer and firefighter safety. Practical Example: If an emergency button gets hit or a unit suddenly goes silent, dispatch doesn't need to ask for a location—they already have it pinpointed on their map. That feature alone can shave minutes off response times in a life-or-death situation.
These advanced capabilities are often managed through sophisticated software platforms. For agencies looking to get more out of their tech, it's worth exploring the variety of first responder mobile apps that can integrate with and enhance these radio functions. By learning to use your Motorola radio for more than just your voice, you make your entire team safer and more effective.
Radio Discipline That Saves Lives
On the air, every single word counts. When you're in the middle of a chaotic scene, that Motorola radio in your hand is a direct line to backup, critical information, and your own safety. Professional radio discipline isn't just about sounding the part—it's about making sure every message gets through clean, is understood, and is acted on the first time. Bad radio habits lead to dangerous delays, and that's a risk no one can afford.
The bedrock of good discipline is simple: listen before you speak. Always take a beat to make sure the channel is clear before you mash that PTT button. Stepping on someone else's transmission, even by accident, turns two messages into garbled noise. Now both have to be repeated, eating up precious airtime when seconds are on the line.
The A-B-C of Clear Communication
Every effective radio user lives by a simple but powerful model: Accuracy, Brevity, and Clarity. This isn't just a friendly suggestion; it's a rule of thumb that keeps vital channels free for emergency traffic. Cluttered airwaves are a genuine hazard, so make sure every transmission has a purpose.
Just think about the difference between these two calls:
- Vague Message: "Hey, uh, dispatch… we're heading over there now."
- Professional Message: "Dispatch, Engine 5 responding to 123 Main Street."
That second example is a textbook case of efficiency. It nails down who's talking (Engine 5), who they're talking to (Dispatch), and exactly what they're doing (responding to a specific address). There's zero room for error. That level of precision needs to be the standard for every single transmission.
Using the Phonetic Alphabet for Precision
Let's be honest, names, street signs, and license plates can get completely mangled over a crackling radio, especially with sirens wailing in the background. Was that a "B" or a "D"? "T" or "P"? This is exactly why the phonetic alphabet is a non-negotiable tool. Instead of leaving things to chance, you spell out critical info using words that are impossible to mix up.
For a practical example, you'd never just rattle off a plate like "5PDB789." You'd transmit it with absolute clarity:
- "Five Papa Delta Bravo seven eight niner."
This simple habit removes all guesswork. For law enforcement, it's a core skill, but it’s a best practice for every first responder. It ensures the information dispatch gets is 100% accurate, preventing mix-ups that could have disastrous consequences.
Actionable Insight to Save Money: Clarity Reduces Repetition
Think about it: every time a message needs to be repeated, it ties up airtime and a dispatcher's attention. Disciplined communication that's right the first time boosts operational efficiency. For a busy dispatch center, cutting down on unnecessary back-and-forth can improve overall capacity, potentially delaying the need to fund and staff an entirely new dispatch console—a massive long-term financial saving.
Acknowledging Every Message
The communication loop isn't closed until you confirm you've received the message. Acknowledging every directive from dispatch is a fundamental part of radio discipline. It doesn't have to be fancy—a simple "copy," "received," or "Engine 5 copies" is all it takes to confirm you've heard and understood.
When you don't acknowledge a message, you leave dispatch hanging. They're left wondering if you missed the call, if your radio died, or if you're even able to respond. That uncertainty forces them to follow up, which just adds more traffic to the channel and piles on to their workload.
Making acknowledgment an automatic habit accomplishes two key things:
- Confirms Understanding: It lets the sender know you're both on the same page.
- Maintains Accountability: It creates a clear record that the instructions were received.
This simple act is the glue that holds everything together. It builds trust between units in the field and the dispatchers who have their backs, forming the backbone of a safe and effective response.
Keeping Your Gear Mission-Ready
Your Motorola radio is a lifeline. Plain and simple. But it's only as reliable as the battery powering it and the accessories you have clipped on. Thinking about your batteries and gear isn't just about routine maintenance; it's a critical discipline. A dead radio in the middle of an incident is a failure that is almost always preventable.
At the heart of this readiness is a rock-solid battery strategy. To make sure your radio is good to go when you are, understanding the best practices for lithium-ion battery charging is key to getting the most life and performance out of them. This is about more than just plugging it in at the end of your shift.
Maximizing Battery Life and Performance
For agencies running Motorola gear, the gold standard is the IMPRES (Intelligent Motorola Portable Radio Energy System) charger. Don't think of it as just a power adapter; it's a smart conditioning tool. These chargers actually talk to the IMPRES batteries, analyzing their health and running automatic reconditioning cycles.
This whole process stops the old "memory effect" that killed older battery types and makes sure every charge is optimized. The result? A battery that holds its charge longer and has a much longer service life.
Actionable Insight to Save Money: A disciplined battery program using IMPRES tech can extend the useful life of your battery fleet by up to 40%. For an agency with 100 radios, this can mean saving over $3,000 a year on battery replacements alone, freeing up funds for other critical equipment.
You also have to know how to read your radio’s battery indicators. Most modern Motorola radios show the battery level, but many IMPRES batteries also have indicators that tell you when they're nearing the end of their service life—even if they still seem to take a full charge. Swapping out a battery that’s only rated for a few more charge cycles before it fails is the kind of proactive step that prevents a dead radio in the field.
Essential Accessory Management
Your radio's performance also hinges on its accessories, mainly the speaker microphone and earpiece. These things take a constant beating and are common failure points if they aren't looked after.
- Speaker Microphones: Practical Example: Before your shift, check that the mic is screwed on tight to the radio's accessory port. A loose connection can give you intermittent audio or kill your comms completely. Give the coiled cord a quick look for frays or damage, and keep the mic grille clear of dirt to make sure your transmissions are crisp.
- Earpieces: For quiet comms, earpieces are invaluable. You have to keep the acoustic tube clear of condensation and debris. Practical Example: If you notice low volume from your earpiece, don't assume it's broken. Disconnect the tube and use a small burst of compressed air to clear it. This simple fix can save you from needlessly replacing an expensive accessory.
The global demand for this kind of reliable gear is exploding. The Asia-Pacific region is actually becoming the fastest-growing market, with projections showing it will hit USD 2.3 billion by 2034. This just underscores the universal need for dependable comms in public safety and other tough jobs.
By making it a habit to check your power and connections at the start of every shift, you can be confident that when you hit that PTT button, you'll be heard loud and clear.
Answering Your Most Common Radio Questions
No matter how much training you get, real-world situations always throw a curveball. When you're in the thick of it, knowing how to quickly fix a simple radio problem can make all the difference. Let's walk through some of the most frequent questions we hear from first responders about their Motorola gear.
What to Do When Dispatch Goes Silent
It’s a classic, and frankly, unnerving problem: you can key up and transmit, and dispatch can hear you, but you can’t hear them back. It's not you; it's physics.
This one-way communication is almost always a sign that you’re in a signal dead zone or right on the edge of your repeater's range. Your radio is just strong enough to push a signal out to the tower, but the tower’s return signal can't get through whatever is blocking you—a hill, a dense building, you name it.
So, what's the fix?
- Move. Just move. Practical Example: If you are in a large concrete building, try getting to a higher floor, stepping outside, or even just moving a few feet toward a window. You'd be amazed how often a small change in your position can completely restore communication.
- Go direct. Most radios have a "talk-around" or "direct" channel programmed in. This is your plan B. Practical Example: This is the perfect solution when you and your partner are in a basement or a big steel building where repeater signals can't penetrate. It cuts the repeater out of the loop and lets you talk directly, radio-to-radio, with other units nearby.
Using That Emergency Button the Right Way
See that orange or red button on top of your radio? That’s not just for decoration—it’s your lifeline. But you absolutely have to know what it does before you need it.
That emergency button is designed for the absolute worst-case scenario, specifically when you are physically unable to make a voice transmission.
When you press and hold it (it requires a long press to avoid accidental bumps), your radio sends an immediate, high-priority alert straight to dispatch. This usually lights up their console, flashes your unit ID, and—this is the important part—often opens your mic for a "hot mic" period. For a set time, dispatch can hear everything happening around you without you ever touching the PTT button.
Critical Insight & Practical Example: Use this button only for true emergencies, like being in a physical struggle or having a sudden medical event where you can't speak. It guarantees an immediate, priority response. Accidental activations tie up dispatchers and can lead to a "boy who cried wolf" effect, diluting the urgency of real alerts.
Scanning vs. Sticking to One Channel
Knowing when to scan and when to monitor a single channel is key to managing the firehose of radio traffic during an incident.
Think of it this way: when your radio is parked on a single talkgroup, you're locked into one conversation. It’s simple, focused, and you won’t miss anything on that primary channel.
Flipping scanning on is like having ears in multiple places at once. Practical Example: During a major incident, a commander can scan the primary tactical talkgroup, the staging area talkgroup, and the command channel. This gives them much better situational awareness, letting them keep tabs on all key operations without constantly fiddling with their channel knob.
At Resgrid, LLC, we know that confident, clear communication is the bedrock of every successful response. Our platform is built from the ground up to mesh with your team's workflow, making sure every dispatch, status change, and message is handled with the precision your mission demands. Discover how Resgrid can support your team.